Allewie Bed Frame Assembly Instructions: A Comprehensive Guide
Accessing detailed Allewie bed frame assembly PDFs is crucial for a smooth setup; resources like prime-spaces.com offer free manuals for various models, including those with storage.
Understanding Your Allewie Bed Frame
Before beginning assembly, familiarize yourself with your specific Allewie bed frame model. Different designs – platform, storage, velvet wingback – necessitate unique approaches. Locating the correct PDF manual is the first step, as these guides detail component specifics and step-by-step procedures.
Allewie frames often feature headboards, side rails, footboards, center support beams, and slats. Some models incorporate storage drawers or lift-up mechanisms, adding complexity. The manual will illustrate each part clearly, preventing confusion during construction. Understanding the bed’s structure beforehand streamlines the process, minimizing errors and ensuring a stable, long-lasting result. Referencing the PDF throughout assembly is highly recommended.
Identifying All Components
The Allewie bed frame assembly PDF manual is essential for accurate component identification. Typically, you’ll find a detailed parts list with diagrams. Expect headboard and footboard pieces, side rails, a center support beam (often with legs), wooden slats, and hardware like screws, bolts, and washers.

Storage models, such as the Queen size platform bed with drawers or lift-up versions, include additional parts like drawer boxes, hydraulic lifts, and associated mounting hardware. Carefully compare each physical component to the illustrations in the manual to confirm you have everything needed. Missing parts can halt progress, so a thorough inventory is crucial before starting the assembly process;
Tools Required for Assembly

The Allewie bed frame assembly PDF often lists necessary tools, though some aren’t always included. A fundamental requirement is a screwdriver – both Phillips head and potentially flathead. An Allen wrench (hex key) is almost always needed, and frequently included with the hardware.
For easier and faster assembly, consider having a power drill with appropriate bits. However, use caution to avoid over-tightening screws! A rubber mallet can be helpful for gently securing parts, especially with tighter fits noted in some assembly experiences. A level ensures the bed is stable, and a worktable provides ample space. Refer to the manual for specific tool recommendations for your model.
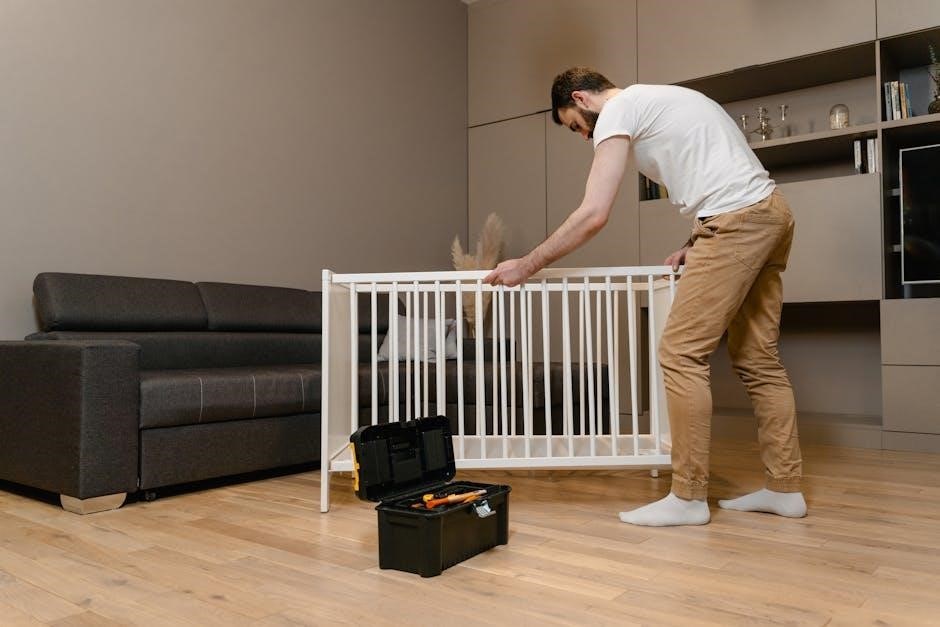
Step-by-Step Assembly Process
Allewie assembly PDFs guide users through attaching rails, installing center supports, and adding slats, ensuring a secure mattress foundation for optimal sleep support.
Attaching the Side Rails to the Headboard
According to Allewie assembly PDFs, begin by carefully laying out all components on a protected floor surface. Align the side rails with the headboard, ensuring proper orientation as depicted in the manual; Utilize the provided bolts and washers to secure the rails to the headboard; some users note this step can be challenging.
The PDF instructions emphasize the importance of not fully tightening the bolts initially, allowing for adjustments during the subsequent steps. A vise or ample workspace can be beneficial, particularly when dealing with tighter connections. Double-check alignment before proceeding to the next phase of assembly, referencing the diagrams within the manual for clarity.
Proper attachment is fundamental for the bed frame’s overall stability and longevity, so meticulous attention to detail is key.
Connecting the Side Rails to the Footboard
Allewie assembly PDFs detail that, after attaching the side rails to the headboard, the process is mirrored for the footboard. Align the free ends of the side rails with the corresponding mounting points on the footboard, again referencing the manual’s diagrams for correct positioning.
The instructions reiterate the use of bolts and washers, advising against full tightening at this stage to maintain flexibility for adjustments. Ensuring a flush connection between the rails and footboard is vital for structural integrity. Some models may have specific footboard attachment methods detailed in their respective manuals.
Careful alignment and a methodical approach, guided by the PDF, will result in a secure and stable bed frame foundation.
Installing the Center Support Beam
Allewie bed frame assembly PDFs emphasize the importance of the center support beam for overall stability, particularly for larger sizes like Queen or King. Locate the beam and its supporting legs, referencing the manual’s illustrations for correct orientation.
Position the beam lengthwise down the center of the bed frame, ensuring the legs are evenly spaced and make firm contact with the floor. Secure the beam to the side rails using the provided screws or bolts, as detailed in the manual.
Tighten all connections firmly, but avoid over-tightening. This beam significantly reduces sagging and provides crucial support for the slats and mattress, as highlighted in the downloadable instructions.
Adding the Slats for Mattress Support
Allewie bed frame assembly PDFs clearly demonstrate the slat installation process, vital for proper mattress support. Lay the wooden or metal slats evenly across the frame, ensuring consistent spacing as shown in the manual’s diagrams.
Most models require securing the slats with plastic slat holders or screws. Refer to your specific manual for the correct attachment method; some designs feature pre-drilled holes for easy installation.

Evenly distribute the slats to prevent mattress sagging and ensure optimal weight distribution. The downloadable instructions often emphasize checking the spacing and secureness of each slat before proceeding, guaranteeing a stable and comfortable sleep surface.

Specific Models & Assembly Variations
Allewie bed frame assembly instructions PDFs vary by model – Queen with drawers, lift-up storage, or velvet wingback – each requiring a unique manual.
Allewie Queen Size Platform Bed with Storage Drawers
Assembling the Allewie Queen Size Platform Bed with storage drawers necessitates a specific assembly manual, often available as a downloadable PDF. These instructions detail attaching the headboard and side rails, crucial for structural integrity.
The manual guides you through installing the center support beam, vital for weight distribution, and then adding the slats to create a stable mattress foundation. A key focus is the drawer mechanism – the PDF provides step-by-step guidance for proper installation, ensuring smooth operation.
Pay close attention to diagrams illustrating drawer slide attachment and alignment. Resources like prime-spaces.com offer these manuals, simplifying the process and preventing common errors. Proper assembly guarantees both bed stability and functional storage.
Allewie Lift Up Storage Bed Assembly

Assembling the Allewie Lift Up Storage Bed requires careful adherence to the provided assembly manual, typically found as a downloadable PDF. This manual specifically details the complex lift mechanism installation, a critical step for safe and functional operation.
The instructions emphasize correctly attaching the gas struts and hinges, ensuring smooth lifting and secure closure. Diagrams illustrate proper alignment and fastening techniques. The PDF also covers the platform base construction and slat placement, providing a stable surface.
Resources like prime-spaces.com offer these manuals, simplifying the process. Pay close attention to weight capacity limits and safety precautions outlined in the manual. Correct assembly is paramount for maximizing storage space and ensuring long-term bed stability.
Allewie Velvet Bed Frame with Wingback Headboard
Assembling the Allewie Velvet Bed Frame, particularly with its striking wingback headboard, benefits greatly from a detailed assembly manual, readily available as a PDF download. These instructions focus on securely attaching the ornate headboard, often requiring precise alignment and robust fastening.
The manual provides step-by-step guidance for connecting the side rails and footboard, ensuring a stable frame to support the velvet upholstery. Diagrams clearly illustrate the process, highlighting specific screw placements and component orientations.
Resources online, like those mentioned, offer access to these crucial PDF guides. Note that the headboard’s size may necessitate two-person assembly. Following the manual diligently guarantees a beautiful and structurally sound bed.
Troubleshooting Common Assembly Issues
Allewie assembly manuals (PDF) address issues like headboard attachment and rail misalignment; referencing these guides is key to resolving common setup difficulties quickly.
Difficulty Attaching the Headboard
If you’re struggling with headboard attachment, consult the Allewie assembly manual (PDF) for specific model instructions. Several users have noted this step can be challenging, sometimes requiring significant force.
The manual often details proper alignment and the correct hardware to use. A larger vise or ample workspace, as some have suggested, can be incredibly helpful. Ensure you’re not over-tightening screws initially, allowing for adjustments.
Referencing diagrams within the PDF will clarify the process. If issues persist, double-check that all components are correctly oriented before applying pressure. The downloadable manual provides visual aids and troubleshooting tips to overcome this common hurdle.
Misaligned Side Rails
Addressing misaligned side rails requires careful review of your Allewie bed frame’s assembly manual (PDF). The manual provides diagrams illustrating the correct positioning and connection points. Begin by loosening all previously tightened bolts related to the rails and head/footboards.
Ensure the frame is on a level surface; uneven flooring can contribute to misalignment. Gently apply pressure to realign the rails, referencing the PDF’s visual guides.
The downloadable manual often highlights the importance of proper sequencing during assembly. Retighten bolts gradually, checking alignment after each adjustment. If significant misalignment persists, consult the manual for specific troubleshooting steps or contact Allewie support.
Missing Parts – What to Do
If parts are missing during Allewie bed frame assembly, the official assembly manual (PDF) is your first resource. It contains a comprehensive parts list for verification. Carefully cross-reference the components you have received against this list.
The PDF manual typically provides contact information for Allewie’s customer support. Reach out to them immediately, detailing the missing part(s) and your order number.
Be prepared to provide photos as proof. Allewie generally offers replacements for missing components. Avoid attempting to substitute parts, as this could compromise the bed’s structural integrity. Refer to the manual for specific part numbers to expedite the replacement process.
Safety Precautions During Assembly
The Allewie assembly PDF emphasizes proper lifting techniques and floor protection. Prioritize safety to prevent injury and damage during the bed frame construction process.
Protecting Your Flooring
Before beginning the Allewie bed frame assembly, safeguarding your flooring is paramount. The assembly manual, often available as a downloadable PDF, doesn’t explicitly detail floor protection, but it’s a vital step. Lay down a protective layer – a blanket, drop cloth, or cardboard – to prevent scratches and dents during the process.
Moving bed frame components can easily mar surfaces, especially hardwood or laminate. Consider using furniture sliders under the legs or rails as you position them. This minimizes friction and reduces the risk of damage. Careful planning and a protective barrier will ensure your floors remain pristine throughout the assembly, allowing you to enjoy your new Allewie bed without regret.
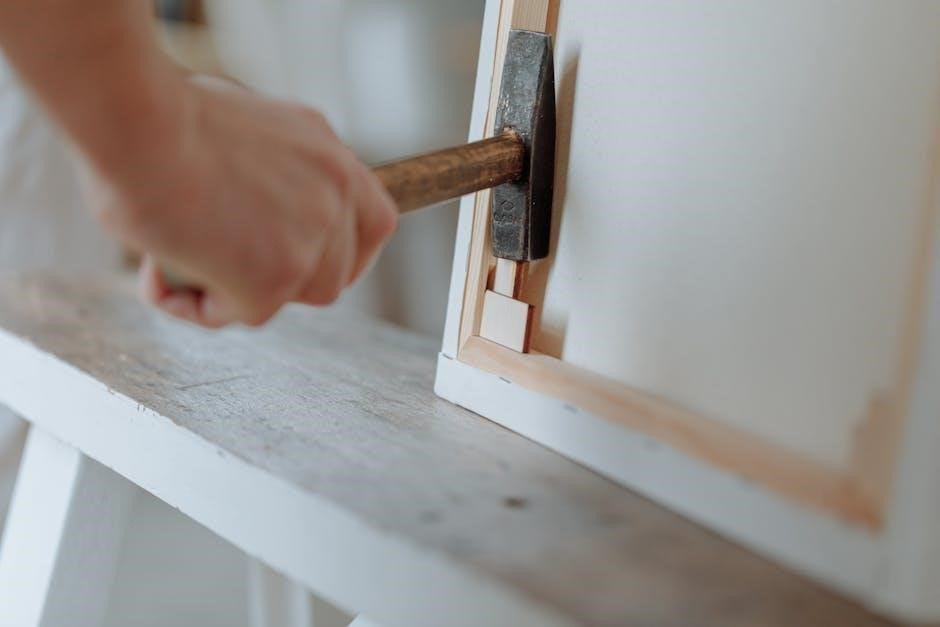
Proper Lifting Techniques
The Allewie bed frame assembly, detailed in the downloadable PDF manual, often involves handling moderately heavy components. Employing proper lifting techniques is crucial to prevent injury. Always bend at your knees, keeping your back straight, and avoid twisting while lifting.
If a component feels too heavy, enlist assistance. Don’t attempt to lift beyond your capabilities. Maintain a firm grip and keep the load close to your body for better balance. The manual may not explicitly state these precautions, but prioritizing safe lifting practices will ensure a smoother, injury-free assembly process. Remember, a well-assembled Allewie bed isn’t worth risking your health!

Finding the Official Allewie Assembly Manual (PDF)
Official Allewie assembly manuals in PDF format are readily available online, notably through resources like prime-spaces.com, ensuring a guided setup experience.
Accessing the Manual Online
Locating your Allewie bed frame’s assembly manual online is straightforward. Several websites host downloadable PDFs, simplifying the setup process. Prime-spaces.com provides a free resource for various Allewie models, including those with LED lighting and adjustable headboards.
A quick internet search for “Allewie bed frame assembly instructions PDF” will yield numerous results. These online manuals offer step-by-step guidance, diagrams, and parts lists, crucial for successful assembly.
Video tutorials, like those from T and T Finds showcasing the King Size bed frame assembly, can supplement the PDF instructions, providing a visual aid. Ensure the manual corresponds to your specific Allewie model for accurate guidance.
Downloading and Printing the PDF
Once you’ve located the correct Allewie bed frame assembly PDF online – often found on sites like prime-spaces.com – downloading is typically a simple click. Ensure your download source is reputable to avoid any potential security risks.
After downloading, open the PDF with a compatible reader (like Adobe Acrobat Reader). To print, select the “Print” option and adjust settings as needed – consider printing in landscape mode for clearer diagrams.
Having a physical copy readily available during assembly is highly recommended, allowing you to easily reference instructions without constantly switching between devices. A printed manual keeps your screen clean and accessible.

Post-Assembly Checks & Maintenance
After assembly, confirm stability and tightness of all connections; regularly inspect screws to ensure continued structural integrity, referencing the manual if needed.
Ensuring Stability and Tightness
Post-assembly, a thorough check for stability is paramount. Gently rock the bed frame to identify any wobbling or unevenness. Refer to your Allewie bed frame assembly instructions PDF to re-tighten all bolts and screws, paying close attention to those connecting the headboard and side rails.
A common issue, noted in online discussions, involves difficulty squeezing the headboard components together – ensure a firm, secure fit. Double-check the center support beam’s connections, as this significantly impacts overall stability. Regularly inspect all fasteners; loose screws can develop over time with use. The official manual provides torque specifications, if available, for optimal tightening. Prioritize safety and a solid build!
Regularly Inspecting for Loose Screws
Consistent maintenance, guided by your Allewie bed frame assembly instructions PDF, is key to longevity. Implement a routine – every three to six months – to inspect all screws and bolts. Pay particular attention to connections between the headboard, footboard, side rails, and center support beam.
Vibration from regular use can cause fasteners to loosen over time. The manual may detail specific torque recommendations for re-tightening. If you notice any wobble or creaking, immediately investigate and tighten any loose components. Don’t overtighten, as this can strip the threads. Keeping a simple toolkit handy facilitates these quick checks, ensuring continued stability and preventing potential issues down the line.